| This manual is deprecated. Please visit https://groupoffice.readthedocs.io for the latest documentation. |
Lists
Contents
Overview
With this module it is possible to add custom made lists to items within Group-Office.
Dependencies
This module does not depend on other modules.
Requirements
There are no requirements needed.
Installation
The installation of the lists module can be done through the normal module installer of Group-Office.
Uninstall
Uninstalling this module can be done by the default Group-Office module manager.
User Manual
Items that can use lists
Contacts
Companies
Events
Files
Folders
Notes
Orders
Tasks
Define new list template
To define a new list template you need to be a user who has administrator privileges.
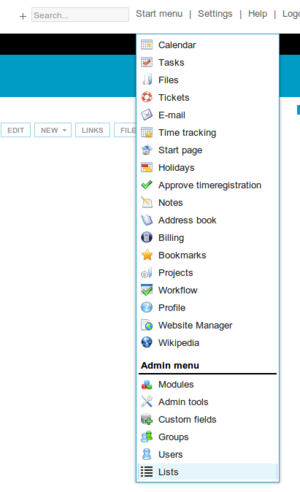
Open the Lists tab by going to the start menu and click on Lists. (This item is available under the administrator menu options)
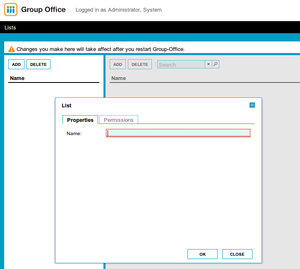
When you have opened the Lists tab in Group-Office then you can add a new list definition by clicking on the Add button that's located in the left side panel.
A window opens in where you can give the list template a name and where you can set the permissions for this list template.
The permissions tab will become available after you have saved the list for the first time.
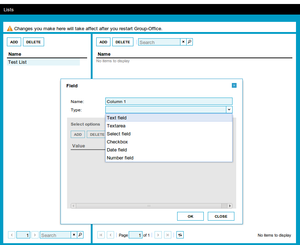
After the list definition is created you can add columns to the list. Select the list you want to add columns to at list on the left and click on the Add button in the right panel.
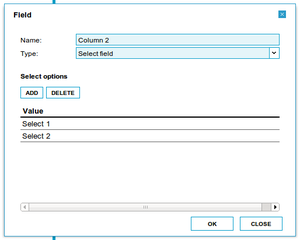
When you choose for the column type "Select" then the greyed out part will become available and you can set the select options.
When you have added all the columns needed for this particular list then you are done with setting up the list template.
Please restart Group-Office after you've added a new list because otherwise it will not be visible in the list selection
Use a list template
To use a list template, You can go to the module and item where you want to add the list to.
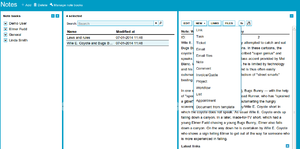
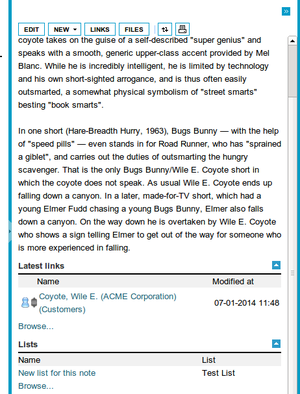
Select the item and then in the displaypanel on the left side you can choose "NEW->List".
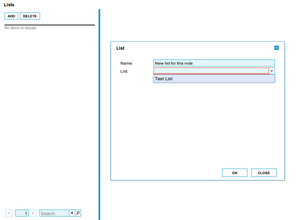
A dialog will pop up in where you can set the title of the list and where you can choose the list template.
After you've done that, the list is attached to the item.
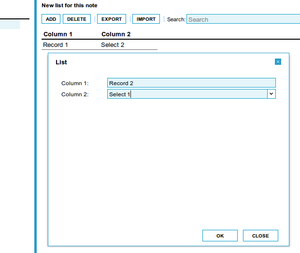
To add new rows to the list, click on the add button in the right panel. Fill in the fields of the list and click on "OK" to save the row to the list.
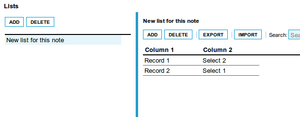
When lists are added to an item within Group-Office they will be displayed in the displayPanel on the right side of each module.
Export and Import a complete list
You can also export and import the lists.
To Export a list, open the list and click on the "Export" button. A .csv file will be available for download.
This .csv file contains all the list values of the current selected list.
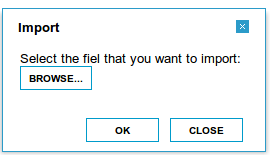
To import a list you can click on the "Import" button. A dialog appears in where you can select the .csv file that you want to import to the current list.
Click on "OK" to import the selected .csv file to the current list.
