


Both GroupOffice and eM Client support the synchronisation of e-mail, contacts, calendar and tasks via IMAP, CalDAV and CardDAV. This makes eM Client an excellent client for GroupOffice. In this post we show you how to configure eM Client for GroupOffice.
Prerequisites
Before you can set up eM Client you'll need:
- A running GroupOffice server
- The GroupOffice mailserver or another IMAP / SMTP server
- eM Client installed on your computer
Note: The free version of eM Client supports a maximum of 2 accounts. If you need more, you will need a paid licence.
Step 1: Add IMAP mail account
In eM Client, go to the Accounts dialog. If this is your first account you will go to the Add account screen straight away. If not, then click Add account.

In the next screens of the dialog, enter the hostname, e-mail username and password for IMAP and SMTP. Note that your e-mail username is typically your full email address and is not the same as your GroupOffice username. Normally, the defaults will work but if needed, use port 993 with SSL/TLS for IMAP and port 587 with STARTTLS for SMTP. Once done, the account will be added:

Step 2: Add contacts, calendar and tasks account
Both eM Client and GroupOffice support CalDAV and CardDAV so you can keep your GroupOffice contacts, calendar and tasks in sync with eM Client too. Go to the Accounts dialog again and click Add account. This time we'll choose Calendar and then CalDAV:

Because GroupOffice supports contacts, calendars and tasks at the same DAV URL, this single account will handle all of these. Click next to enter the account properties:

eM Client does not autodiscover the DAV endpoint, so enter the full URL to your GroupOffice DAV endpoint. This will be in the format https://your-groupoffice-domain.com/dav/ — make sure to use HTTPS. Enter your GroupOffice username and password too. Click through the next steps and finish.
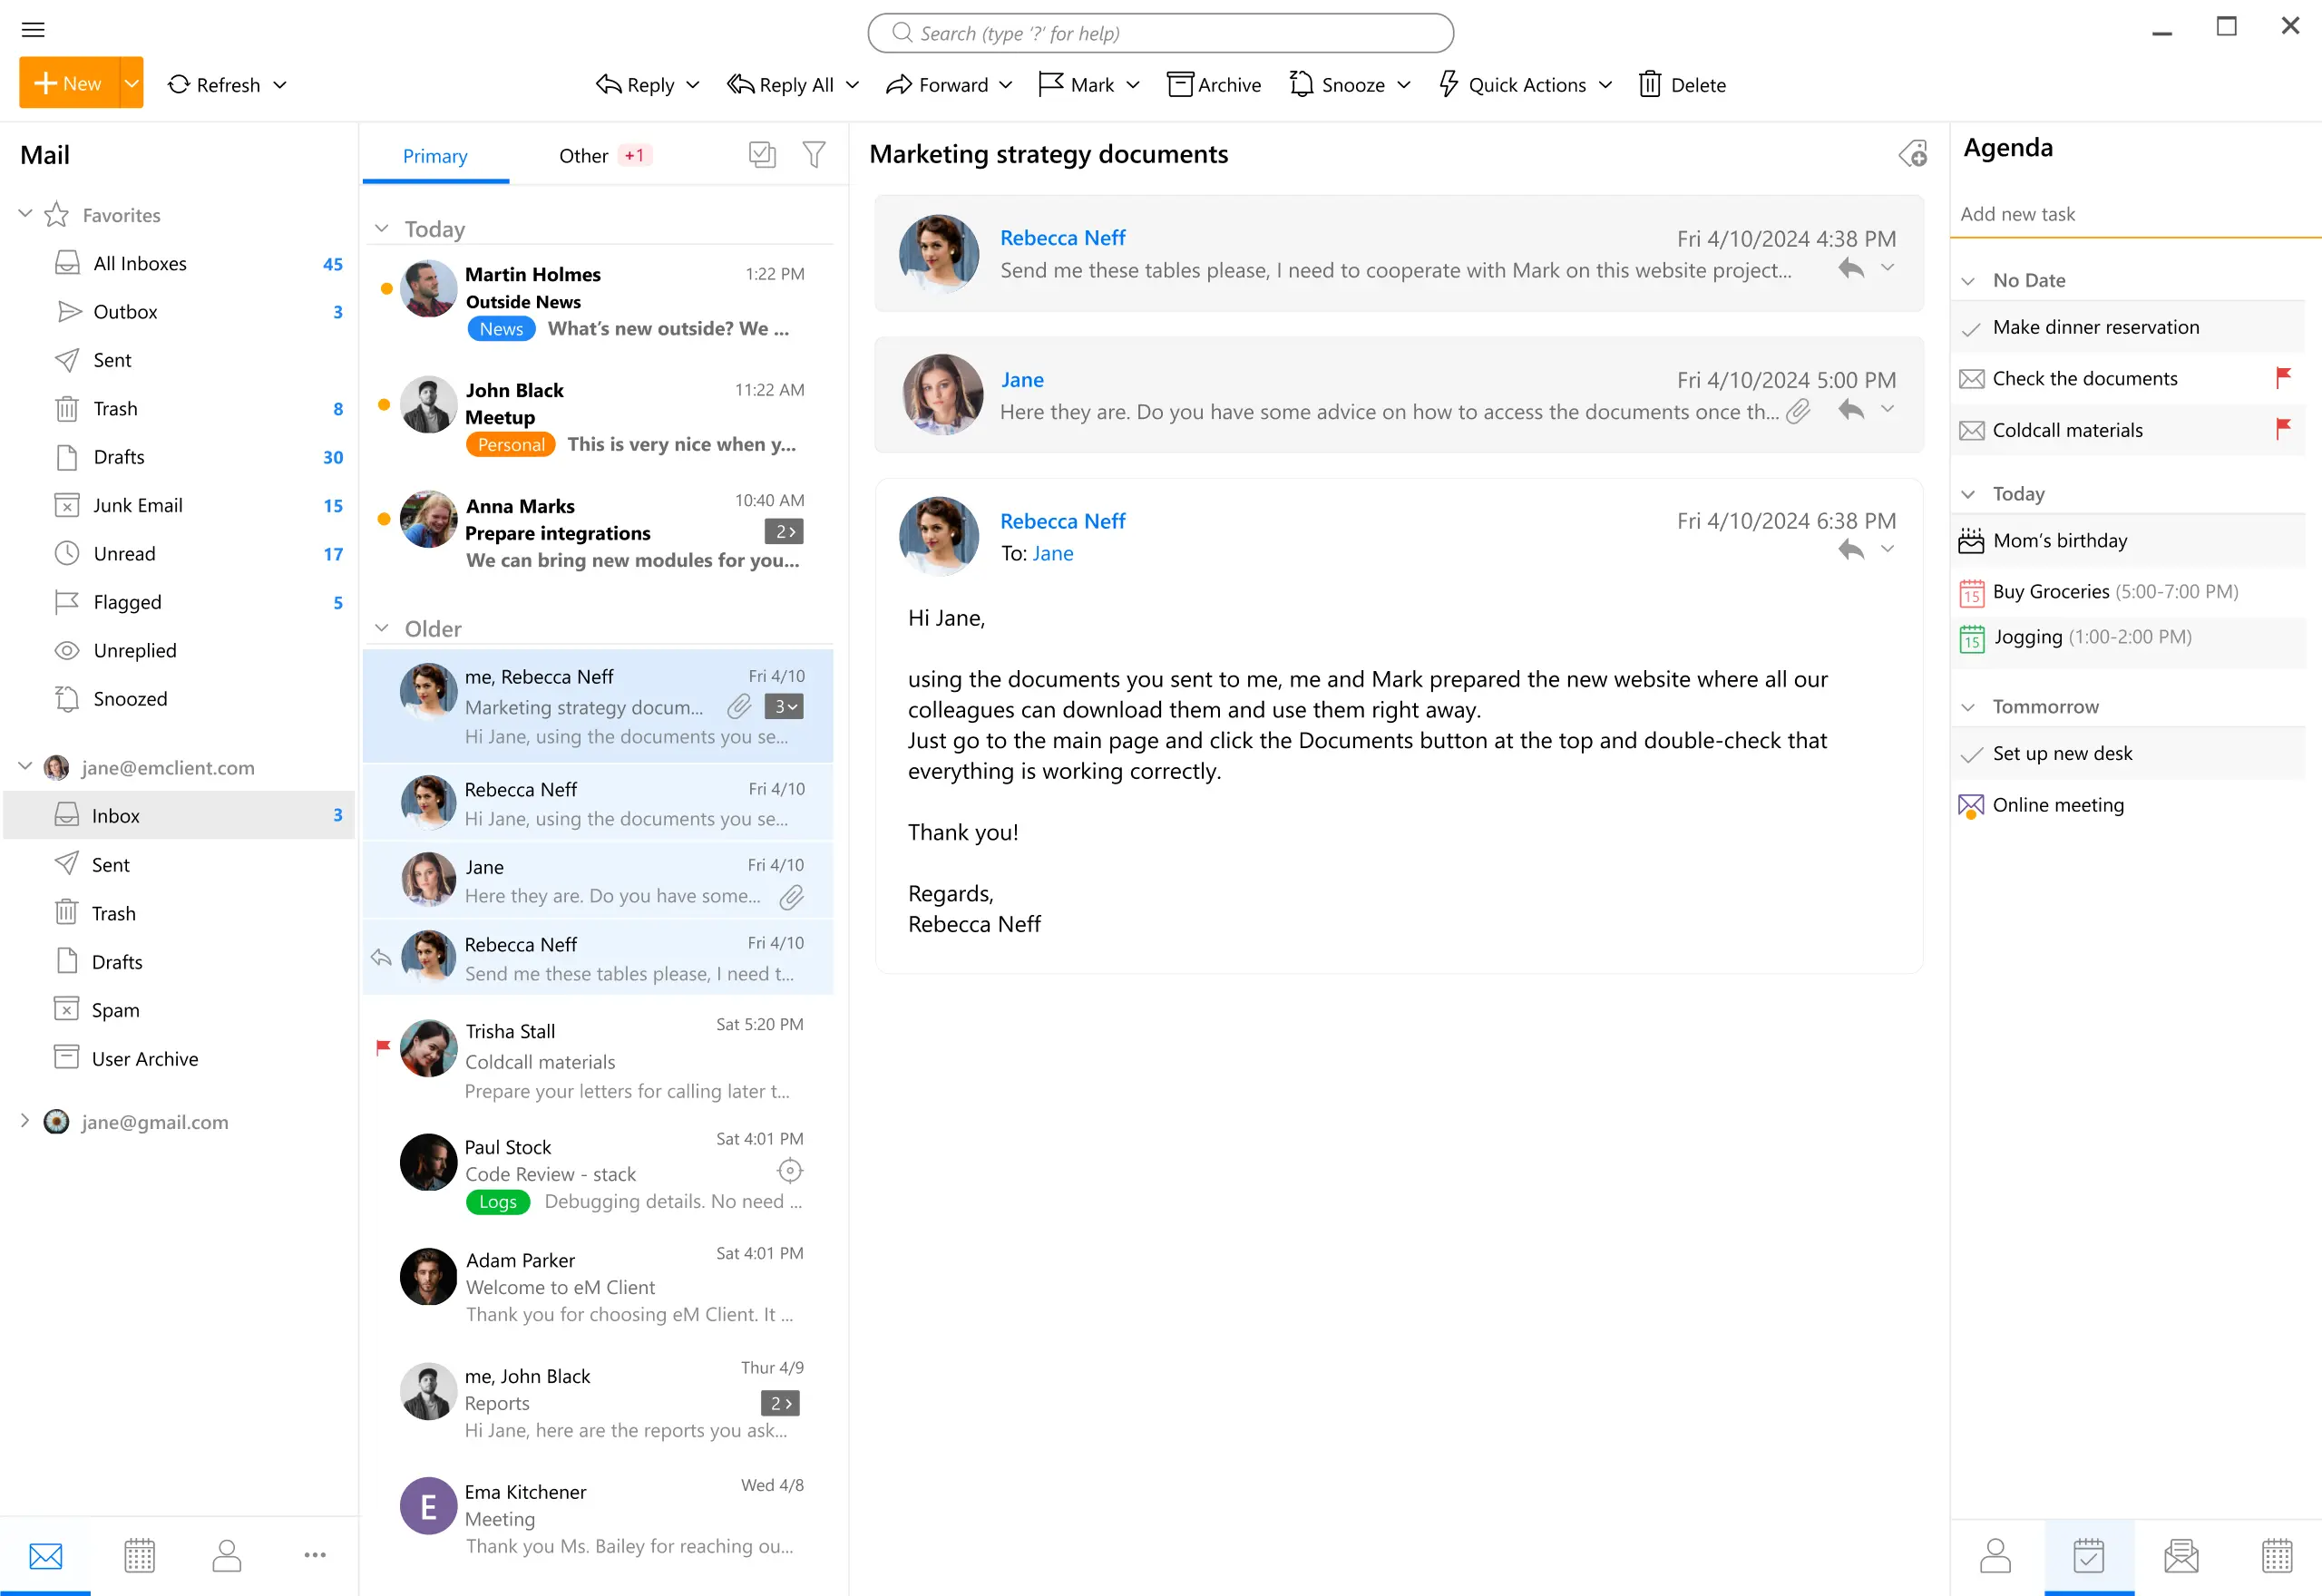
Step 3: Verify the sync
You should now find your GroupOffice calendars in eM Client:

And your contacts:

And your tasks:

We hope this post helps you get started with eM Client and GroupOffice. If you need assistance or have any questions, don't hesitate to contact us!